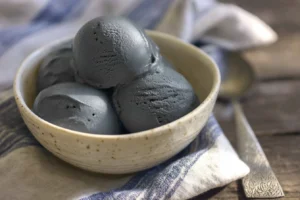
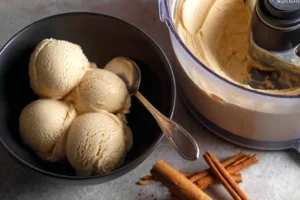
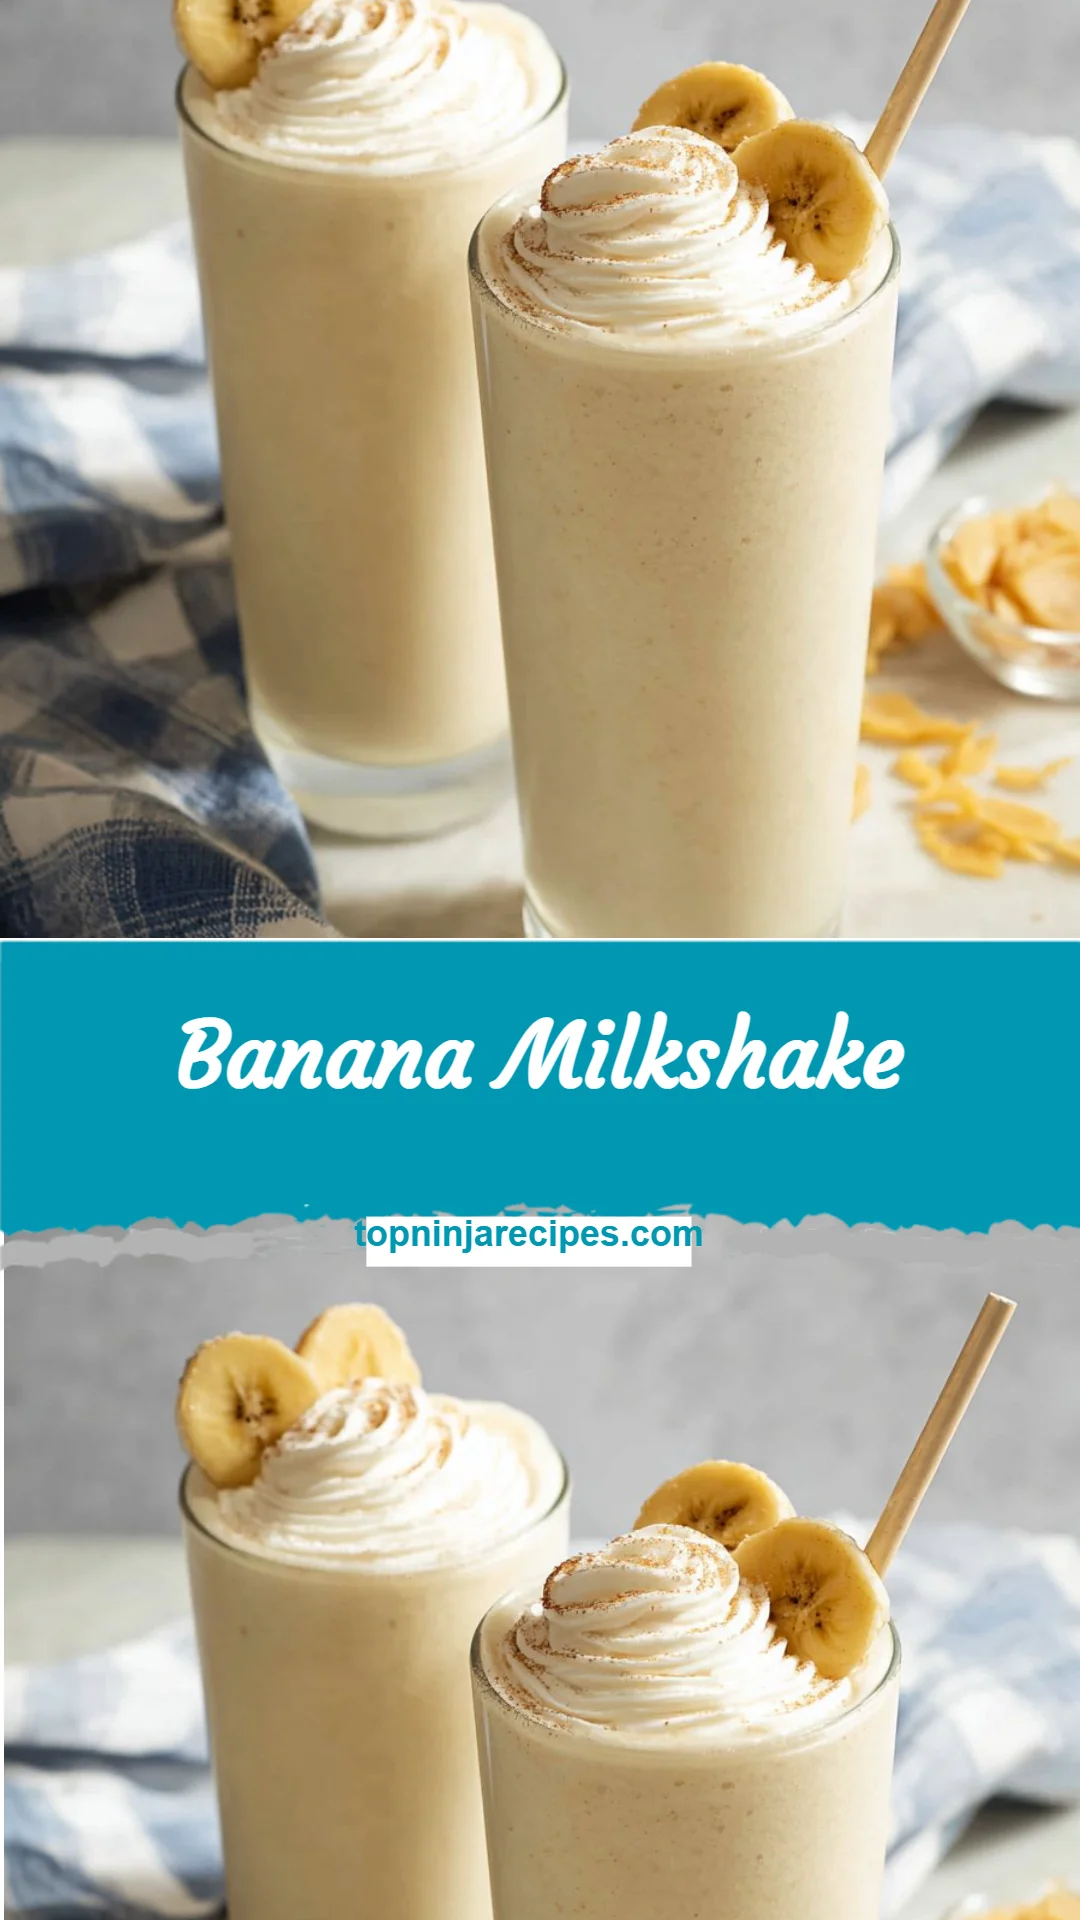
I still remember the first time I blended a banana with ice cream and felt that warm, silly grin spread across my face—like a cozy hug in a glass on a rainy afternoon. Have you ever craved something sweet and comforting but also wanted it to feel a little wholesome? If you’re new to making milkshakes at home, that beginner challenge of getting the texture just right can feel intimidating, but I promise this Banana Milkshake is forgiving and stress-free. I’ll walk you through a simple approach that keeps the flavor bright and the texture velvety, and if you enjoy appliance tips, I once tinkered with a DIY milkshake twist inspired by a Ninja Creami vanilla milkshake recipe that shows how small changes make big differences.
Highlights
A Quick Look at This Banana Milkshake Recipe
This Banana Milkshake is a naturally wholesome treat that delivers potassium and vitamin B6 from the ripe banana and calcium from the milk. The milk and vanilla ice cream add a bit of protein and some satiety, while the banana contributes fiber and natural sweetness, making it a lighter alternative to sugary store-bought shakes. It’s not high in added sugar if you use a modest amount of vanilla ice cream or choose a lower-sugar alternative. This shake works well as a balanced snack, a quick breakfast paired with whole-grain toast, or a lighter dessert on days you want both comfort and nutrition.
##Ingredients You’ll Need for Banana Milkshake
Essentials
- 1 large ripe banana (preferably very ripe for sweeter flavor)
- 1 cup (240 ml) milk — dairy or fortified plant milk
- 1/4 teaspoon vanilla extract
- 1/8 teaspoon ground cinnamon
- 1 teaspoon fresh lemon juice
- 3 large scoops vanilla ice cream (about 1 1/2 to 2 cups total)
- Whipped cream for serving (optional)
- Dried banana chips for garnish (optional)
Optional add-ons
- 1 tablespoon natural peanut butter or almond butter for extra protein and creaminess
- 1 tablespoon ground flaxseed or chia seeds for extra fiber and omega-3s
- A small handful of spinach for a nutrient boost (it won’t change the flavor much)
- 1/2 teaspoon honey or maple syrup if your banana isn’t sweet enough
- A few frozen berries for a fruit twist
You can also explore slightly different flavor directions—if you’re curious about a creamier vanilla-bean twist, this vanilla bean milkshake note gave me ideas for using whole vanilla and keeping it pure.
Substitutions and shortcuts
- Milk: Swap dairy milk for unsweetened almond milk, oat milk, or soy milk. Fortified plant milks keep the calcium content similar to cow’s milk.
- Ice cream: Use frozen banana chunks (about 2 medium bananas) plus 1/2 cup Greek yogurt instead of ice cream to lower added sugar and boost protein. Or choose a lower-sugar vanilla ice cream.
- Banana: If fresh ripe bananas aren’t available, use frozen banana slices. They’ll also help thicken the shake.
- Lemon juice: This is used to brighten the banana flavor and slow browning; you can skip it if you prefer, but the shake will taste flatter over time.
- Quick chill: If you don’t have ice cream but have chilled milk and frozen banana, use 1 1/2 to 2 cups frozen banana for a thick, frosty texture.
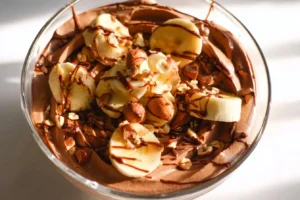
If you want a chocolate spin for inspiration while keeping things simple, I often glance at a practical chocolate milkshake recipe for technique tips that translate well here.

How to Make Banana Milkshake Step-by-Step
I like to think of this as a gentle, friendly process rather than a formal recipe — something you can adjust as you taste. The goal is a smooth, creamy texture and balanced banana flavor.
Prep the banana
- Peel and slice the ripe banana into roughly 1-inch (2.5 cm) pieces. This helps the blender process them evenly and prevents strings in the shake. If you’re using frozen banana, let it sit at room temperature for 3–5 minutes to loosen slightly so your blender doesn’t struggle.
Layer the blender
- Put the banana slices in the bottom of the blender jar. Pour the cup of milk over the banana, then add the vanilla extract, cinnamon, and lemon juice. Finally, top with the scoops of vanilla ice cream. Layering this way prevents the ice cream from packing against the blades and helps everything come together smoothly.
Pulse and blend
- Start on a low speed to break up the banana and loosen any packed ice cream. After 10–15 seconds, increase to medium-high and blend until the mixture is silky. If the shake is too thick and the blender struggles, add small splashes of milk (a tablespoon at a time) rather than dumping in a lot; this preserves creaminess without watering it down.
Check texture and taste
- Scoop a small spoonful or pour a tablespoon into a glass to check. If the shake tastes flat, a little extra lemon juice can brighten it; if it’s not sweet enough, try 1/2 teaspoon honey or maple syrup. If you want it thicker, add a few frozen banana pieces and blend briefly.
Serve immediately
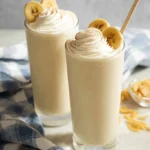
- Pour into two chilled glasses. Top with whipped cream and a few banana chips for crunch. Serve right away for the best texture and flavor.
Tips for nutrient preservation and texture:
- Use ripe bananas to maximize natural sweetness so you don’t need extra sugar.
- Short blending times preserve delicate flavors; over-blending can warm the shake slightly and flatten aroma.
- If you want to preserve more protein and probiotics, choose a Greek yogurt swap for some or all of the ice cream.
- For a colder shake without watering it down, use frozen banana slices in place of some ice cream.
For a few blender tricks that made my life easier—like pulsing with a tamper for stubborn chunks—this Chocolate Milkshake Ninja Slushi guide has some quick hacks that are handy even for fruit-based shakes.
Common Mistakes to Avoid
Even a simple milkshake can go sideways if you rush or overcomplicate. Here’s what I see most often and how to avoid it.
Mistake 1: Using an underripe banana
An underripe banana is firm and lacks sweetness and depth. It can make the shake taste starchy and bland. Make sure your banana has brown speckles or even a few brown patches—those indicate optimal sweetness and flavor.
Mistake 2: Adding too much milk too quickly
If you dump in a full extra cup of milk because you think the blender needs it, you’ll end up with a thin, watery shake. Add small amounts (a tablespoon or two) to adjust texture. That way you keep the creamy mouthfeel without diluting flavor.
Mistake 3: Over-blending
Blending for too long can warm the shake and make it lose aroma and the bright banana notes. Blend just until smooth, check texture, and stop. If you need it colder, add frozen banana or briefly chill the glasses beforehand instead of extra ice or long blending.
Serving Suggestions for Banana Milkshake
A milkshake can be more than dessert—it can slot into breakfast, be an afternoon pick-me-up, or a light treat after a workout. Here are three simple ways I like to serve this Banana Milkshake to keep it both satisfying and balanced.
Breakfast boost
Pair the banana milkshake with a slice of whole-grain toast topped with nut butter for protein and complex carbs. The shake’s potassium and natural sugars give a quick energy lift, while the toast keeps you full longer.
Light dessert
For a lighter dessert, serve the shake in smaller glasses with a sprinkle of toasted oats or cocoa nibs on top. The crunch adds texture without too much added sugar, and the portion control helps keep it in the “treat” category.
Kid-friendly snack
Turn it into a fun, nutritious snack by adding a tablespoon of nut butter and a small handful of spinach—blend well so it remains creamy and the color is still inviting. Garnish with banana chips for a smile-inducing crunch.
If you want a playful behind-the-scenes anecdote while serving, I once documented a mishap turned success in my my Ninja Slushi chocolate milkshake adventure, which reminded me that presentation and simple tweaks matter for family-friendly servings.
Conclusion
This Banana Milkshake is a small ritual you can make part of a healthy routine—easy to adapt, nourishing, and satisfying when you want comfort without overindulgence. I love how a few ripe bananas, milk, and a touch of vanilla and cinnamon come together into something both nostalgic and fit for a mindful diet. If you’d like more recipe variations or a French-language take on a classic style, I often consult resources like Marmiton’s banana milkshake recipe for inspiration, and I also appreciate Nüttree’s banana-vanilla milkshake notes for thoughtful ingredient swaps and flavor pairing ideas. Try it your way, swap ingredients to match your goals, and let me know what homemade twist you love most.
FAQs About Banana Milkshake
Q1: Can I make the Banana Milkshake dairy-free?
A1: Yes—use an unsweetened plant milk like oat, almond, or soy and replace the ice cream with dairy-free vanilla ice cream or frozen banana plus a dollop of coconut yogurt. The texture will be slightly different, but it remains creamy and delicious.
Q2: How can I make the Banana Milkshake higher in protein?
A2: Boost protein by swapping one or two scoops of ice cream for Greek yogurt, adding a scoop of protein powder, or mixing in a tablespoon or two of nut butter. These options add creaminess while increasing protein content.
Q3: Will the Banana Milkshake brown if I prepare it ahead of time?
A3: Banana oxidizes and can darken over time, changing the color and flavor slightly. Add a little lemon juice to slow browning and store it in an airtight container in the fridge for up to 24 hours, but it’s best enjoyed fresh.
Q4: Can I use frozen bananas in this Banana Milkshake?
A4: Absolutely—frozen banana slices can replace fresh banana and some or all of the ice cream for a thicker, frosty texture. If you use only frozen banana and no ice cream, consider adding a splash more milk or a spoonful of yogurt for creaminess.
Q5: Is the Banana Milkshake suitable for children and picky eaters?
A5: Yes—the flavor is familiar and comforting. For picky eaters, keep the recipe simple (banana, milk, vanilla) and use minimal cinnamon. Garnishes like banana chips or a small swirl of whipped cream can make it feel special without adding complexity.
Banana Milkshake
- Total Time: 15 minutes
- Yield: 2 servings 1x
- Diet: Vegetarian
Description
A creamy and wholesome banana milkshake that’s perfect for breakfast, a snack, or dessert, packed with natural sweetness and nutrients.
Ingredients
- 1 large ripe banana
- 1 cup (240 ml) milk (dairy or fortified plant milk)
- 1/4 teaspoon vanilla extract
- 1/8 teaspoon ground cinnamon
- 1 teaspoon fresh lemon juice
- 3 large scoops (about 1 1/2 to 2 cups total) vanilla ice cream
- Whipped cream for serving (optional)
- Dried banana chips for garnish (optional)
- 1 tablespoon natural peanut butter or almond butter (optional)
- 1 tablespoon ground flaxseed or chia seeds (optional)
- A small handful of spinach (optional)
- 1/2 teaspoon honey or maple syrup (optional)
- A few frozen berries (optional)
Instructions
- Peel and slice the banana into 1-inch pieces.
- Put the banana slices in the bottom of the blender.
- Pour the milk over the banana, then add vanilla extract, cinnamon, and lemon juice.
- Top with scoops of vanilla ice cream.
- Start blending on low speed, then increase to medium-high until smooth.
- If too thick, add small splashes of milk to achieve desired consistency.
- Check texture and taste; adjust with lemon juice or sweeter as needed.
- Pour into two chilled glasses and top with whipped cream and banana chips if desired. Serve immediately.
Notes
Use ripe bananas for optimal sweetness and avoid over-blending to preserve flavor and texture.
- Prep Time: 10 minutes
- Cook Time: 5 minutes
- Category: Beverage
- Method: Blending
- Cuisine: American
Nutrition
- Serving Size: 1 serving
- Calories: 350
- Sugar: 25g
- Sodium: 100mg
- Fat: 10g
- Saturated Fat: 5g
- Unsaturated Fat: 3g
- Trans Fat: 0g
- Carbohydrates: 52g
- Fiber: 4g
- Protein: 7g
- Cholesterol: 30mg
Keywords: banana, milkshake, smoothie, healthy snacks, dessert