Do you ever get a sudden craving for something cold, creamy, and a little nostalgic — the kind of treat that takes you back to childhood summer afternoons? I do, and sometimes that craving collides with my desire to keep meals balanced and nourishing. For beginners, making a satisfying milkshake can feel like a test: too thin, too icy, or just overly sweet. I promise this recipe is stress-free and forgiving — you can tweak it easily to fit your nutrition goals, time constraints, or available equipment. If you want ideas for protein-rich or lighter swaps, I sometimes turn to inspiration from my favorite Ninja Creami protein milkshake variations to adapt textures and boost nutrients.
Highlights
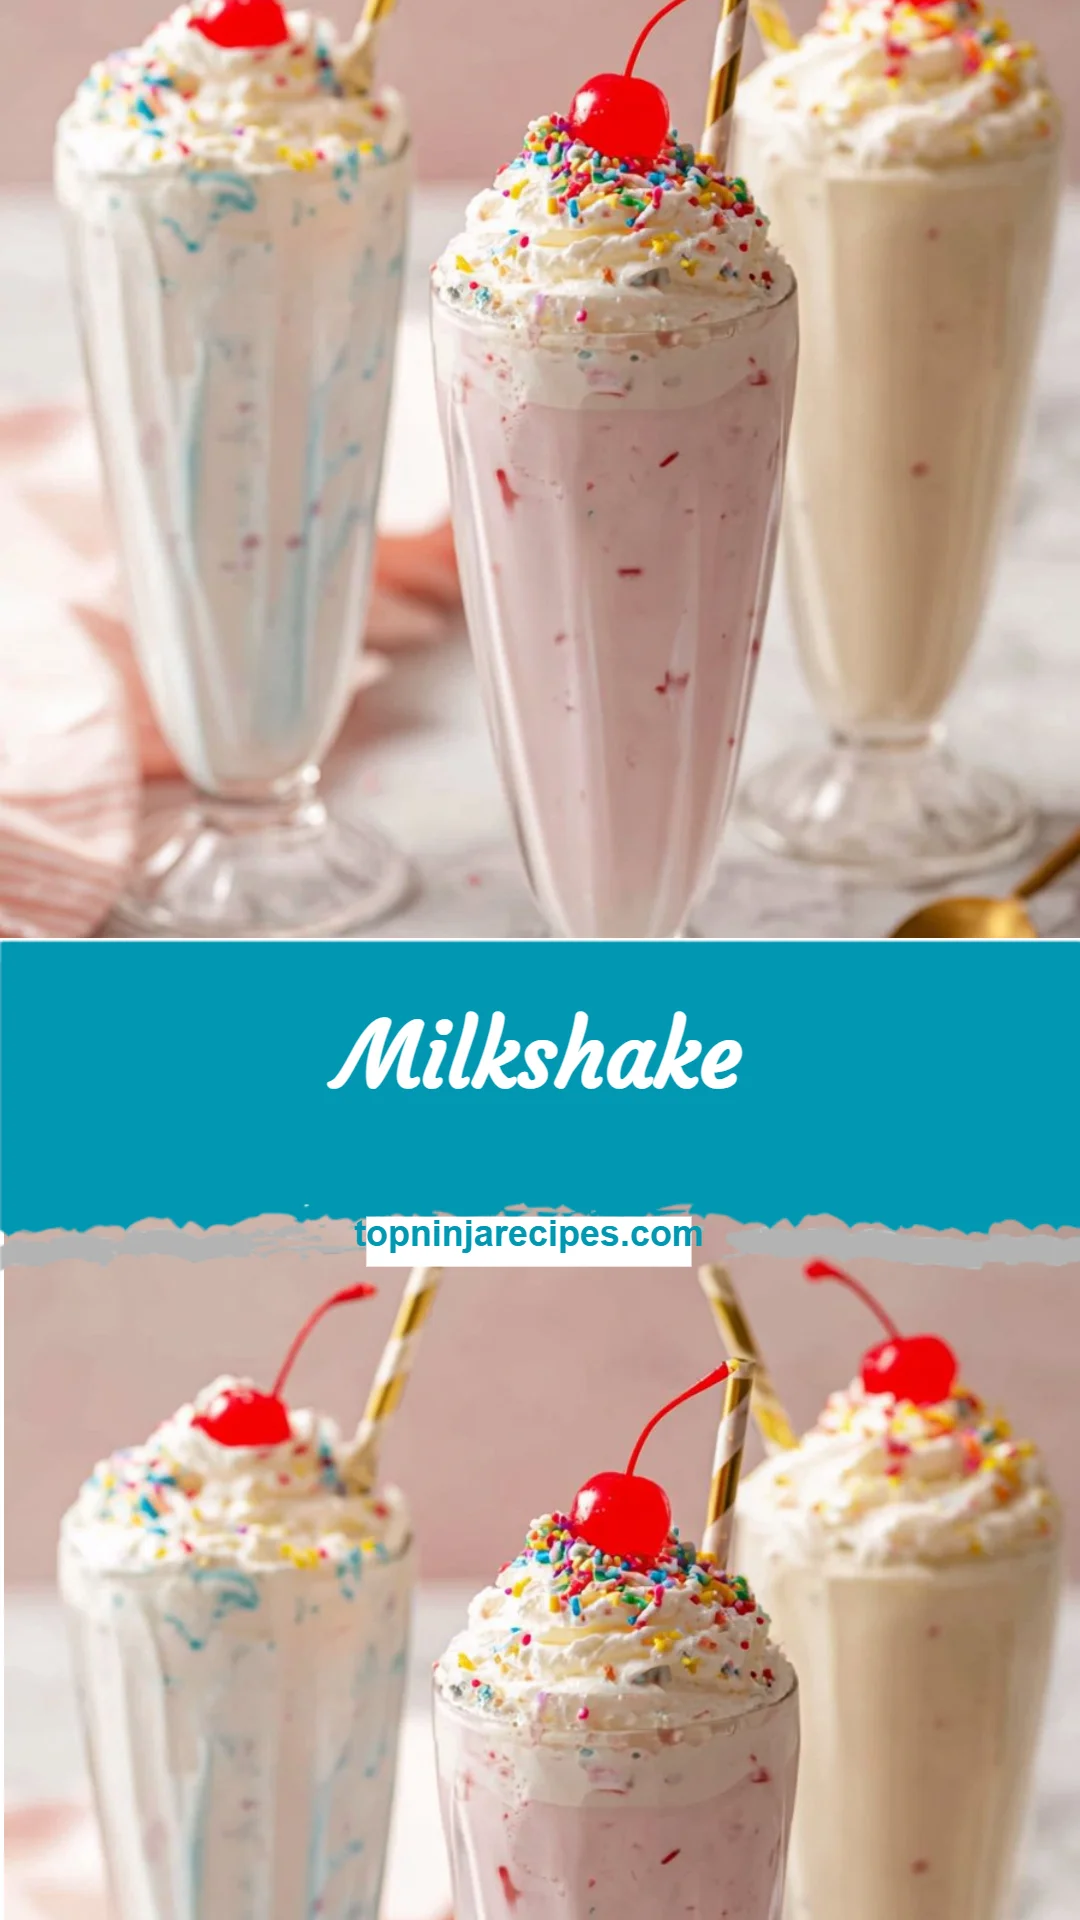
A Quick Look at This Milkshake Recipe
This milkshake is a simple, comforting treat that provides calcium and protein thanks to the dairy in ice cream and milk, and it can be a quick source of energy. Because the base is classic ice cream, it’s not low in added sugars unless you choose low-sugar or sugar-free ice cream alternatives. You can easily make it higher in protein by swapping one or two scoops for a high-protein frozen yogurt or by stirring in a scoop of protein powder. In a healthy lifestyle, this milkshake works well as a lighter comfort dessert, an occasional sweet snack after a balanced meal, or a base you can bulk up with fruits, seeds, or nut butter for a more complete mini-meal.
Ingredients You’ll Need for Milkshake
Essentials
- 5 scoops of ice cream (about 1 3/4 cups). Choose a flavor you love — vanilla is the most versatile for keeping things simple and neutral. For more protein and less added sugar, consider high-protein frozen yogurt or a reduced-sugar ice cream.
- 1/4 cup of milk. I use 2% for a balance of creaminess and lower fat than whole milk, but skim, plant milks, or higher-fat milks all work depending on the texture you prefer.
- Whipped cream (for topping). Optional for presentation and a little indulgence.
- Sprinkles (for topping). Optional — they’re mainly about fun and a pop of color.
- 1 cherry (for garnish, optional). A classic finish that feels celebratory.
Optional add-ons
- 1 scoop of protein powder (vanilla or unflavored) to increase protein content and make the milkshake more filling.
- 1/2 cup frozen banana for natural sweetness, potassium, and a creamier texture.
- 1 tablespoon nut butter (peanut, almond, cashew) for added healthy fats and protein.
- 1–2 tablespoons ground flaxseed or chia seeds for omega-3s and some fiber.
- 1 teaspoon vanilla extract or a pinch of cinnamon for flavor depth without added sugar.
- A few ice cubes if you prefer a thicker, colder texture (use sparingly to avoid diluting flavor).
Substitutions and shortcuts
- Ice cream substitutes: Use high-protein frozen yogurt, low-sugar ice cream, or a frozen banana base (blend frozen banana with a splash of milk for a naturally sweet, dairy-free shake).
- Milk swaps: Almond milk, oat milk, soy milk, or lactose-free milk will all work. Soy milk tends to add the most protein among plant-based options.
- Quick thickener: If your blender makes a runny shake, add one more small scoop of ice cream or a handful of frozen fruit rather than extra ice.
- No-whip topping: If you don’t have whipped cream, a dollop of Greek yogurt adds creaminess and protein as a healthier alternative.
- One-bowl shortcut: If you’re in a hurry and don’t mind a less frothy texture, soften the ice cream slightly and stir in milk with a whisk or fork until combined.

How to Make Milkshake Step-by-Step
I like to keep this process straightforward. The goal is a smooth, creamy texture without overworking your blender or melting the ice cream too much.
- Gather and measure ingredients. Start with slightly firm ice cream — not rock hard — but chilled. If your ice cream is frozen solid, let it sit at room temperature for 2–3 minutes so scoops are easier to pack and blend.
- Scoop into the blender. Add the 5 scoops (about 1 3/4 cups) of ice cream into a medium-sized blender jar. If you’re using add-ins like banana or protein powder, add those now.
- Add milk. Pour in 1/4 cup of milk. This small amount keeps the shake thick and scoopable. If you prefer a thinner milkshake, add more milk in small increments.
- Start blending on low. Begin at low speed to combine the ice cream and milk without splashing. Gradually increase speed until the mixture is smooth and creamy — usually 20–40 seconds in a household blender.
- Taste and adjust. Pause the blender and taste. If you want it sweeter, add a little maple syrup or honey (for non-vegan) and pulse again. For more protein, add a scoop of protein powder and blend until smooth.
- Pour and top. Pour the milkshake into a chilled glass. Top with whipped cream, sprinkles, and a cherry if you like. Serve immediately for the best texture.
Support nutrient preservation and simple techniques:
- Use fresh, minimally processed ingredients where possible. For example, choose ice creams with fewer artificial additives if you’re sensitive or prefer whole-food ingredients.
- If adding fruit, freeze it ahead of time to maintain creaminess without diluting flavor.
- Avoid over-blending. Overmixing can introduce air and warm the shake, making it melt faster and altering texture.
- If you plan to add protein powder, a short burst of higher speed toward the end ensures it dissolves without clumping.
I sometimes adapt the technique I learned trying out my have-fun slushi method when I want an ultra-thick, spoonable milkshake.
Common Mistakes to Avoid
It’s easy to make a few small missteps when whipping up a milkshake, but the fixes are almost always simple.
Over-blending, too much milk, or the wrong balance of ingredients can turn a creamy dream into a thin, watery disappointment. Below are the three most frequent mistakes I see and how I avoid them.
Mistake 1: Adding too much milk
Too much milk dilutes flavor and turns a milkshake into a flavored milk. Start with 1/4 cup like this recipe suggests, then add a tablespoon at a time if you need to thin it. If your milkshake is already too thin, salvage it by adding a small scoop of ice cream or a handful of frozen banana and re-blending briefly.
Mistake 2: Using melted ice cream
If the ice cream is too soft, the shake will be warm and won’t be thick or satisfying. Let rock-solid ice cream soften for just a couple minutes — you want it scoopable but still chilled. If you’ve already melted it too much, pop the blended mixture into the freezer for 10–15 minutes and re-blend to restore some thickness.
Mistake 3: Not balancing sweetness and add-ins
It’s tempting to add syrups, candy, or too many sweet add-ins. Those extras can overpower subtle flavors and increase added sugars. Taste as you go. If you need extra texture without excess sugar, try crushed nuts, a small spoonful of nut butter, or a sprinkle of cinnamon instead. For chocolate lovers, I keep a stash of unsweetened cocoa powder to deepen flavor without piling on sugar — I learned some helpful tips on achieving a balanced chocolate shake while experimenting with chocolate slushie techniques.
Serving Suggestions for Milkshake
This milkshake is a joyful little treat, and how you serve it can make it feel extra special without adding many calories. A thoughtful garnish and pairing can turn it into either a dessert or a snack that complements a healthy meal plan.
Pairing thoughtfully helps with portion control and balance. Here are three serving ideas to keep things nourishing and enjoyable.
Pairing 1: Simple afternoon treat
Enjoy your milkshake with a small handful of raw nuts or a piece of fruit. The nuts add healthy fats and protein, which help slow the absorption of sugars and keep you satisfied longer.
Pairing 2: After-meal dessert
Serve a modest 8–10 ounce milkshake after a balanced lunch with lean protein and vegetables. This keeps your overall meal satisfyingly complete without overdoing the indulgence.
Pairing 3: Upgraded recovery snack
If you want the milkshake to act as a recovery snack after a workout, add one scoop of protein powder and a tablespoon of peanut butter. That boosts protein and helps replenish glycogen gently. For techniques on creating thicker, protein-rich shakes with a Creami-style approach, I often check tips like those found at Ninja Creami chocolate milkshake tips to ensure a spoonable, satisfying texture.
Conclusion
This milkshake recipe is a comforting, adaptable treat that can fit into a health-conscious lifestyle when you make deliberate ingredient choices — swap in higher-protein bases, reduce added sugars, or add fiber-rich seeds to make it more balanced. I love how flexible it is: a tiny tweak turns it from an indulgent dessert into a nourishing recovery snack or a mini-meal. Try it as written for classic comfort, then experiment with one or two swaps to match your goals. For ideas on building a small, pretty recipe site or sharing your own milkshake photos online, I sometimes use a compact website builder designed for creatives to display recipe cards, and I often consult recipe guides such as the Best Milkshake Recipe on Delish for inspiration on flavors and proportions.
FAQs About Milkshake
Q1: How long does a Milkshake stay fresh?
A1: A Milkshake is best enjoyed immediately for the creamiest texture. If you need to store it, put it in an airtight container in the freezer and consume within 24 hours; thaw slightly and re-blend for best results.
Q2: Can I make a Dairy-Free Milkshake?
A2: Yes — to make a Dairy-Free Milkshake, use dairy-free ice cream (coconut, almond, or soy-based) and a plant milk such as oat or soy. Note that flavor and richness will vary with the choices.
Q3: How can I make my Milkshake higher in protein?
A3: Increase protein in your Milkshake by using high-protein frozen yogurt, adding a scoop of protein powder, or stirring in Greek yogurt. These swaps preserve texture and boost satiety.
Q4: Is it possible to make a low-sugar Milkshake?
A4: Absolutely. Make a low-sugar Milkshake by using a reduced-sugar or sugar-free ice cream, unsweetened plant milk, and natural sweeteners like a small amount of mashed banana or a touch of stevia if needed.
Q5: Can I prepare the Milkshake in advance for a party?
A5: For a party, you can pre-scoop ice cream into small portions and keep them frozen; blend each guest’s Milkshake quickly to order. Alternatively, pre-mix thicker bases (like yogurt and milk) and freeze in portions, then blend briefly with a little milk to finish when serving.

Classic Milkshake
- Total Time: 5 minutes
- Yield: 2 servings 1x
- Diet: Vegetarian
Description
A simple and comforting milkshake recipe that you can easily customize to fit your nutritional needs.
Ingredients
- 5 scoops of ice cream (about 1 3/4 cups)
- 1/4 cup of milk
- Whipped cream (for topping, optional)
- Sprinkles (for topping, optional)
- 1 cherry (for garnish, optional)
- 1 scoop of protein powder (optional)
- 1/2 cup frozen banana (optional)
- 1 tablespoon nut butter (optional)
- 1–2 tablespoons ground flaxseed or chia seeds (optional)
- 1 teaspoon vanilla extract or a pinch of cinnamon (optional)
- A few ice cubes (optional)
Instructions
- Gather and measure ingredients.
- Scoop the ice cream into a medium-sized blender jar.
- Add the milk and any optional add-ins.
- Blend on low speed, gradually increasing speed until smooth.
- Taste and adjust sweetness or protein as desired.
- Pour into a glass and top with whipped cream, sprinkles, and a cherry if desired.
Notes
For a creamier texture, use slightly firm ice cream and avoid over-blending. Adjust the sweetness as you blend.
- Prep Time: 5 minutes
- Cook Time: 0 minutes
- Category: Dessert
- Method: Blending
- Cuisine: American
Nutrition
- Serving Size: 1 serving
- Calories: 350
- Sugar: 30g
- Sodium: 200mg
- Fat: 15g
- Saturated Fat: 8g
- Unsaturated Fat: 4g
- Trans Fat: 0g
- Carbohydrates: 40g
- Fiber: 2g
- Protein: 6g
- Cholesterol: 40mg
Keywords: milkshake, dessert, ice cream, protein shake, classic recipe