There’s something magical about the moment when you take your first bite of homemade ice cream. The rich, creamy texture melts in your mouth, but it’s the flavor explosion that truly transports you. What’s better than that? How about creamy coffee ice cream made right at home? I still remember the first time I created my own ice cream recipe. It was a sunny afternoon, and I had this urge for something sweet and refreshing. Fast forward to today, and I can’t wait to share with you my Ninja Creami Coffee Ice Cream Recipe—a treat that brings comfort and joy, and is surprisingly simple to make, even for first-timers. This post will walk you through every step and make it an enjoyable adventure in your kitchen.
Highlights
Why I Love This Recipe of Ninja Creami Coffee Ice Cream Recipe
This Ninja Creami Coffee Ice Cream Recipe holds a special place in my heart because it combines two of my great loves: coffee and ice cream. This isn’t just your average ice cream recipe; this is a nod to those cozy evenings when I want to unwind with a scoop of rich, caffeinated goodness. It’s comforting, familiar, and absolutely guilt-free. Whether you’re craving a pick-me-up treat after a long day or looking for a refreshing dessert to share with friends, this recipe is your go-to. It’s perfect for novice cooks who might feel intimidated by fancy desserts, as it lays out each step clearly, making it entirely approachable.
Ingredients You’ll Need
To create this delightful coffee ice cream, you will need the following ingredients:
1 Cup Freshly Brewed Strong Coffee or Espresso (Cooled): The star ingredient! The stronger the coffee, the richer the flavor.
1 Cup Heavy Cream: This ingredient is crucial for that smooth, creamy texture. If you want a lighter version, you can substitute it with heavy whipping cream or a low-fat variety, though it may slightly alter the creaminess.
1 Cup Whole Milk: Adds moisture and silkiness. For a healthier option, consider using almond milk or oat milk, but be aware that this might alter the taste and texture.
3/4 Cup Granulated Sugar: Sweetens the mix. You can also use maple syrup or stevia as healthier alternatives, adjusting the amount to taste.
1 Teaspoon Vanilla Extract: Enhances the flavor profile and brings warmth to the ice cream. Pure vanilla extract is best, but you can also find alcohol-free brands.
1/2 Cup Chocolate Chips: These are optional, but who can resist the delightful combination of coffee and chocolate? You could use dark chocolate chips for a more intense flavor.
1/2 Cup Caramel Swirls: Another optional touch, these swirls add depth. For a healthier option, consider a sugar-free caramel sauce or chocolate syrup.
How to Make Ninja Creami Coffee Ice Cream Recipe Step-by-Step
Step 1 – Mix Ingredients
Start by combining your cooled brewed coffee, heavy cream, whole milk, granulated sugar, and vanilla extract in a large mixing bowl. Use a whisk to mix it until the sugar is fully dissolved. This part is essential; if the sugar isn’t dissolved, you could end up with a grainy texture in your final product.
Step 2 – Freeze
Pour your mixture into a freezer-safe container. I recommend using a shallow container to help freeze it more evenly. Cover it with a lid or plastic wrap, and make sure it’s airtight. Let it freeze for at least 24 hours until it’s completely solid. Patience is key here; the longer, the better the texture!
Step 3 – Churn
Once your mixture has frozen solid, it’s time to bring out your Ninja Creami! Transfer your frozen coffee mixture to the Ninja Creami’s bowl. Follow the manufacturer’s instructions to churn the mixture. Let it churn until it reaches that familiar creamy consistency—it should take a few minutes. If you have the option, use the “ice cream” setting for the best results.
Step 4 – Add Mix-Ins (Optional) and Serve
Here’s where you can get creative! If you want to add in your chocolate chips or caramel swirls, do this during the last few minutes of churning for even distribution. Once it’s ready, scoop the ice cream into bowls and enjoy it right away! The texture should be perfectly creamy and delightful.

Common Mistakes to Avoid
Falling Short on Coffee Strength
When making coffee ice cream, the strength and quality of the coffee play a significant role. Using weak coffee will result in a bland taste. Always opt for freshly brewed strong coffee or espresso for the best flavor.
Uneven Freezing
Freezing the mixture too quickly can lead to ice crystals forming, resulting in a grainy texture rather than a smooth creaminess. Make sure to freeze it for the recommended time and allow it to solidify completely.
Not Whisking Thoroughly
It’s vital to whisk your ingredients thoroughly until the sugar is fully dissolved. If there are any sugar granules left, they will affect the texture of your ice cream. A little extra mixing will go a long way for achieving that velvety mouthfeel.
Serving Suggestions for Ninja Creami Coffee Ice Cream Recipe
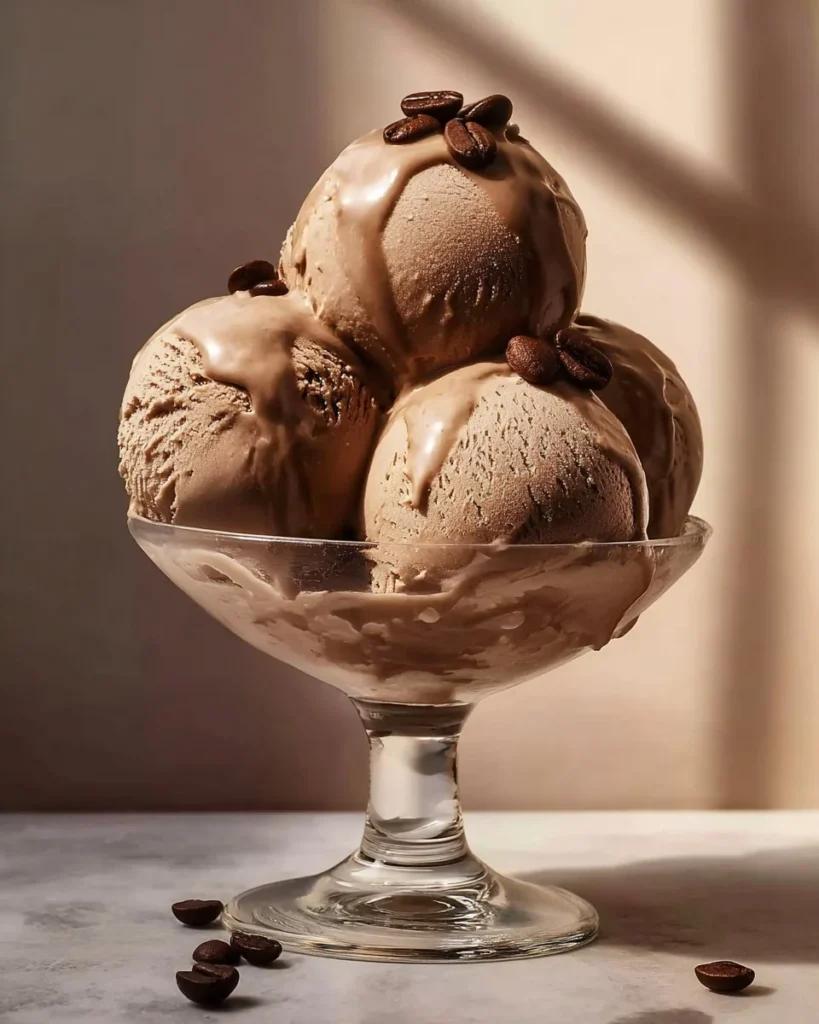
Enjoy as Is
This Ninja Creami Coffee Ice Cream is delicious on its own. Scoop it into a chilled bowl, sit back, and indulge.
Pair it with a Biscotti
For those who love a little crunch, serve your ice cream alongside a classic biscotti. The crispy texture is perfect against the creamy ice cream, and the flavors complement each other wonderfully.
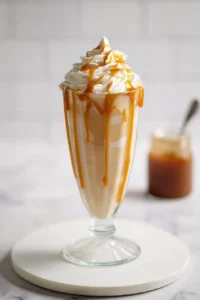
Create an Ice Cream Float
Feeling adventurous? Pour a little cold brew coffee or soda over a scoop of your coffee ice cream in a tall glass for an irresistible twist. It’s a fun way to enjoy two treats in one!
Nutritional Values of Ninja Creami Coffee Ice Cream Recipe
Let’s break down the nutritional benefits of this delightful Ninja Creami Coffee Ice Cream.
High Caffeine Kick
With real coffee as the main ingredient, each serving gives you that invigorating caffeine boost without the need for additional energy sources.
Quality Fats
The heavy cream and whole milk provide healthy fats, contributing to your daily intake while keeping you satisfied longer. These fats promote absorption of fat-soluble vitamins and can be part of a well-balanced diet.
Control Over Ingredients
Making your own ice cream means you have control over the ingredients. You can tailor the sweetness to your liking or swap in healthier alternatives to suit your dietary preferences.
Conclusion
Creating your own Ninja Creami Coffee Ice Cream is easier than it may seem at first glance. By following these simple steps, you not only create a delightful treat but also gain the knowledge to personalize it just the way you like. Remember, you can customize it with various add-ins, making it a classic choice for gatherings or a cozy evening at home. Embrace your inner chef and treat yourself to this creamy, coffee-flavored bliss!
Give this recipe a whirl, and let your taste buds dance with delight. I promise you won’t regret it, and your friends and family will love you for it too.
Print
Ninja Creami Coffee Ice Cream Recipe
- Total Time: 1470 minutes
- Yield: 4 servings 1x
- Diet: Vegetarian
Description
A delightful homemade coffee ice cream, rich and creamy with a perfect flavor explosion.
Ingredients
- 1 Cup Freshly Brewed Strong Coffee or Espresso (Cooled)
- 1 Cup Heavy Cream
- 1 Cup Whole Milk
- 3/4 Cup Granulated Sugar
- 1 Teaspoon Vanilla Extract
- 1/2 Cup Chocolate Chips (optional)
- 1/2 Cup Caramel Swirls (optional)
Instructions
- Combine cooled brewed coffee, heavy cream, whole milk, granulated sugar, and vanilla extract in a large mixing bowl. Whisk until sugar is fully dissolved.
- Pour mixture into a freezer-safe container and freeze for at least 24 hours until completely solid.
- Transfer frozen mixture to the Ninja Creami’s bowl and follow the manufacturer’s instructions to churn until creamy.
- Add chocolate chips or caramel swirls if desired, then scoop into bowls and enjoy!
Notes
Ensure the coffee is strong for the best flavor. Patience is key for perfect texture.
- Prep Time: 30 minutes
- Cook Time: 1440 minutes
- Category: Dessert
- Method: Churning
- Cuisine: American
Nutrition
- Serving Size: 1 serving
- Calories: 320
- Sugar: 28g
- Sodium: 90mg
- Fat: 20g
- Saturated Fat: 12g
- Unsaturated Fat: 8g
- Trans Fat: 0g
- Carbohydrates: 30g
- Fiber: 0g
- Protein: 4g
- Cholesterol: 60mg
Keywords: coffee, ice cream, dessert, homemade, creamy
FAQs About Ninja Creami Coffee Ice Cream Recipe
1. Can I use decaf coffee for the Ninja Creami Coffee Ice Cream Recipe?
Yes, absolutely! Decaf coffee works just as well and allows those avoiding caffeine to enjoy delicious coffee ice cream.
2. How long does it take to make Ninja Creami Coffee Ice Cream?
On average, including freezing time, the total process is about 25 hours. However, actual active preparation time is only around 20–30 minutes.
3. What if I don’t have a Ninja Creami?
You can use any ice cream maker, or even try the old-fashioned method of stirring every 30 minutes while it freezes.
4. Can I make this dairy-free?
You can absolutely substitute the heavy cream and whole milk with their plant-based alternatives, such as almond or coconut milk.
5. How do I store leftover Ninja Creami Coffee Ice Cream?
Store your leftover ice cream in an airtight container in the freezer. It should stay creamy for about 1-2 weeks, but it’s best enjoyed fresh!
This guide supports you in crafting your very own delicious Ninja Creami Coffee Ice Cream. So roll up your sleeves, and let’s get cooking!