We all know the struggle of wanting to enjoy delicious ice cream while trying to maintain a balanced diet. Store-bought options can be loaded with sugar, high in calories, and lacking in nutrition. Finding a healthier alternative can often feel like navigating a maze. If you’re looking for a way to enjoy ice cream without the guilt of traditional recipes, then I’ve got a delightful solution for you!
In this cozy blog post, we’ll dive deep into everything you need to know about making your very own Ninja Creami Fairlife Protein Ice Cream. From essential ingredients to step-by-step instructions to troubleshooting common mistakes, this guide will arm you with all the knowledge you’ll need to create a dessert that feels like a treat but works with your health goals.
Highlights
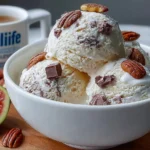
Ninja Creami Fairlife Protein Ice Cream
- Total Time: 1440 minutes
- Yield: 4 servings 1x
- Diet: High Protein, Vegetarian
Description
A deliciously healthy ice cream made with Fairlife protein milk that satisfies your cravings while boosting your protein intake.
Ingredients
- 2 Cups Fairlife Protein Milk
- 1–2 Tablespoons Sweetener (Optional, to taste)
- 1 Teaspoon Vanilla Extract
- 1/4 Cup Cocoa Powder (for chocolate flavor, optional)
- 1/4 Cup Fruit Puree or Diced Fruit (optional)
- 1/4 Cup Mix-ins (chocolate chips, nuts, optional)
- 1 Teaspoon Guar Gum or Xanthan Gum (optional)
Instructions
- Mix the ingredients in a mixing bowl: Combine Fairlife protein milk, sweetener, and vanilla extract. Add optional flavorings if desired.
- Pour the mixture into the Ninja Creami pint container and freeze for at least 24 hours.
- After freezing, process the mixture in the Ninja Creami using the ice cream setting. Reprocess if necessary for desired texture.
- Serve and enjoy with your favorite mix-ins!
Notes
Experiment with different flavors and add-ins to customize your ice cream. Taste test before freezing to adjust sweetness!
- Prep Time: 15 minutes
- Cook Time: 0 minutes
- Category: Dessert
- Method: Freezing
- Cuisine: American
Nutrition
- Serving Size: 1 serving
- Calories: 200
- Sugar: 3g
- Sodium: 120mg
- Fat: 7g
- Saturated Fat: 2g
- Unsaturated Fat: 5g
- Trans Fat: 0g
- Carbohydrates: 18g
- Fiber: 1g
- Protein: 15g
- Cholesterol: 10mg
Keywords: ice cream, healthy dessert, high protein, dairy-free options, Ninja Creami
Ingredients You’ll Need for Ninja Creami Fairlife Protein Ice Cream Recipe
The great thing about this recipe is that it features simple ingredients that you might already have at home. Let’s break these down into essentials and optional add-ons to customize your treat.
Essentials:
2 Cups Fairlife Protein Milk: This fantastic milk alternative is rich in protein and low in sugar. Fairlife’s filtration process not only makes it deliciously creamy but also packs a nutritional punch, making it perfect for ice cream.
1-2 Tablespoons Sweetener (Optional, to taste): Depending on your taste buds, you can add a sweetener like honey, agave syrup, or a sugar substitute. I generally recommend starting with one tablespoon and adjusting to your preference!
1 Teaspoon Vanilla Extract: This adds a warm, inviting flavor to your ice cream. Feel free to swap this out with other flavorings if you’re in the mood for something different.
Optional Add-Ons:
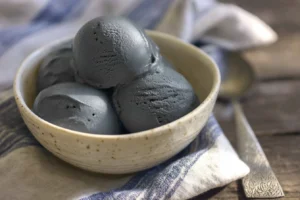
1/4 Cup Cocoa Powder (for chocolate flavor): Want a chocolate twist? Cocoa powder adds a rich flavor to your ice cream. I love making chocolate variations whenever I have a craving!
1/4 Cup Fruit Puree or Diced Fruit: Fresh fruit like strawberries or mangoes can be an exciting addition. They not only provide natural sweetness but also a burst of flavor.
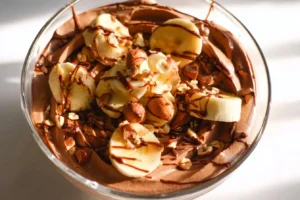
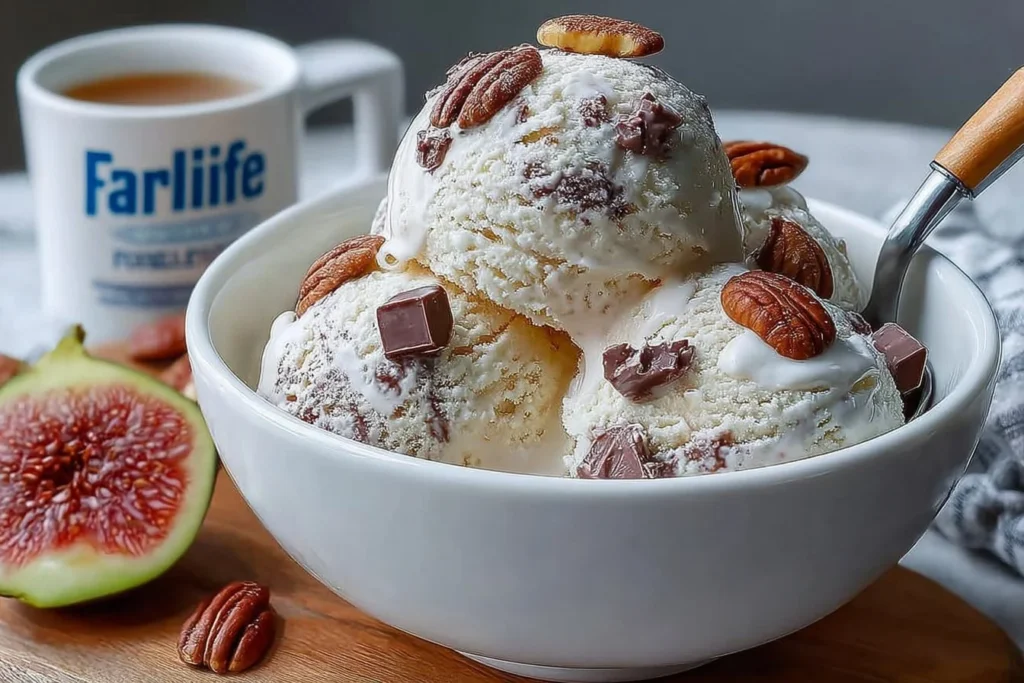
1/4 Cup Mix-ins: Chocolate chips, nuts, or fruit pieces can transform your ice cream into a whole new experience.
1 Teaspoon Guar Gum or Xanthan Gum (Optional): This is for the texture enthusiasts! Adding a thickener like guar gum or xanthan gum leads to a creamier consistency, reminiscent of your favorite store-bought ice creams.
With just a few basic ingredients, you’re on your way to whipping up a delicious summer treat. Don’t hesitate to experiment with flavors and add-ins according to your palate!
How to Make Ninja Creami Fairlife Protein Ice Cream Recipe Step-by-Step
That’s where my Ninja Creami Fairlife Protein Ice Cream Recipe comes in! Not only will this recipe satisfy your cravings, but it also boosts your protein intake and makes use of better-for-you ingredients. Trust me; you’ll want to stick around for this one!
Once you have your ingredients gathered, you’re ready to create some creamy magic! Let’s walk through the steps.
Step 1: Mix the Ingredients
Start by grabbing a mixing bowl. In it, combine 2 cups of Fairlife protein milk, 1-2 tablespoons of your chosen sweetener, and 1 teaspoon of vanilla extract. If you’re feeling adventurous, you can add the flavoring of your choice at this stage, such as 1/4 cup cocoa powder for a chocolate version or 1/4 cup of fruit puree for fruity goodness. Mix everything together until fully combined and smooth. You want a luscious blend that’s ready to turn into ice cream!
Step 2: Freeze the Mixture
Next, pour your smooth mixture into the Ninja Creami pint container. Make sure not to overfill; leave enough space for expansion as it freezes. Pop this container into your freezer and leave it for at least 24 hours until it’s solid. This is one of those “waiting is the hardest part” moments, but trust me, it’s worth it!
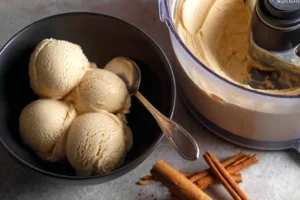
Step 3: Process in a Ninja Creami
After waiting patiently, remove the container from the freezer and place it into your Ninja Creami machine. Select the “Ice Cream” setting and let the magic happen! If the texture isn’t quite what you desire after the first processing, don’t fret. Simply reprocess it until you reach the perfect creaminess that you love.
Step 4: Serve and Enjoy!
Now, it’s time to get creative! You can mix in your favorite goodies—whether that be nuts, chocolate chips, or fruit pieces. Once you’ve mixed in your extras, serve immediately for a delightful frozen treat or return it to the freezer for later enjoyment.
Common Mistakes to Avoid
Every great home cook knows that perfection isn’t just about the final dish; it’s also about avoiding common pitfalls. Here are some traps to watch out for:
Over-Processing or Under-Processing
- Over-Processing: Running the Ninja Creami for too long can lead to a melted texture. Keep an eye on it!
- Under-Processing: Not processing long enough might result in ice crystals. If your base feels chunky after the first round, give it another spin!
Wrong Freezing Times
- Make sure to freeze for at least 24 hours. Rushing this step could lead to an icy, less enjoyable texture. Ice cream needs time to solidify properly.
Ignoring Taste Testing
- Always taste your mixture before freezing. Everyone’s sweetness level differs, so adjust accordingly. It’s better to tweak it now than after your ice cream comes out.
Quick Wins or Tips
Feeling adventurous? Here are some tips to elevate your Ninja Creami ice cream making experience:
Balance Ingredients
- If you’ve added fruit, consider reducing the sweetener a tad. Fruits often contain natural sugars that contribute to sweetness.
Keep it Simple
- Stick to a couple of flavors at a time. Overloading your ice cream can lead to muddled tastes, taking away that tart sweetness you want!
Experiment with Textures
- Try adding crushed cookies or pretzels for a unique texture contrast. Ice cream doesn’t have to be just creamy!
Can I double this recipe
- Yes, just be careful with the Ninja Creami’s processing limits. If you’re freezing a larger batch, you might need a bigger container.
Customize Your Bases
- If you’re looking to try dairy-free options, swap Fairlife protein milk for a plant-based version. Almond or oat milk can give your ice cream a different profile!
Pro-Level Tips for Advanced Readers
Ready to take your Ninja Creami endeavors to the next level? Here are some expert tips:
Create Custom Flavor Profiles
- Think about combining unique flavors like chai spice or matcha with vanilla. Fresh herbs can work wonders too—ever tried basil-infused strawberry ice cream?
For the true experimenters, check the top Ninja Creami recipes protein rich. oh, and Vanilla fans, get yourself over to the easy Ninja Creami vanilla ice cream recipe. Mango people, yes, you guessed it, there’s mango Ninja Creami waiting for you too.
Can I make a vegan version
- Absolutely! Simply replace Fairlife milk with a plant-based protein milk alternative and use a suitable sweetener.
Temperature is Everything
- Let your mixture sit out for 5-10 minutes before processing. This allows for better churn and creaminess.
Advanced Add-ins
- Do you love cookies and cream? Crumbled Oreos or homemade cookie dough can be perfect non-melting additions for a delightful surprise in every bite.
Storage Solutions
- When storing your ice cream, place a piece of parchment paper directly on top before sealing it with a lid to reduce ice crystals forming.
Looking for more delicious recipes? you can check the list of Ninja Creami recipes, and remember to join our community on Pinterest and Facebook!
Conclusion
Now you’re all set to create your very own Ninja Creami Fairlife Protein Ice Cream! Not only is it a delightful, guilt-free treat, but it’s also a fun project that gets you experimenting in the kitchen.
Key Takeaways:
- Using quality ingredients leads to better flavors and experiences.
- The Ninja Creami is a fantastic investment for making ice cream—or even smoothies!
- Experimentation is key; don’t be afraid to make the recipe your own!
So, why not give this recipe a go? I’d love to hear your thoughts! Try it out, drop a comment, and share your unique variations. And if you’re looking for more sweet treats, check out my other recipes on the blog. Happy creaming!
FAQ About Ninja Creami Fairlife Protein Ice Cream
1. How long will my ice cream last in the freezer?
Ice cream made with the Ninja Creami can typically last about 2-4 weeks in the freezer. Ensure an airtight seal to maintain freshness.
2. Can I use regular milk instead of Fairlife milk?
Of course! If you prefer whole or skim milk, you can absolutely do that. Just note that it may change the nutritional profile.
3. Is this recipe suitable for kids?
Yes! This ice cream allows for healthier options, and kids will love the ability to customize their flavors.
4. Is the sweetener absolutely necessary?
Nope! You can skip the sweetener altogether if you prefer a more natural taste; the fruit added will provide some sweetness as well.
5. What if my ice cream is too hard after freezing?
If your ice cream feels too hard to scoop, let it sit out at room temperature for a few minutes before trying to scoop.