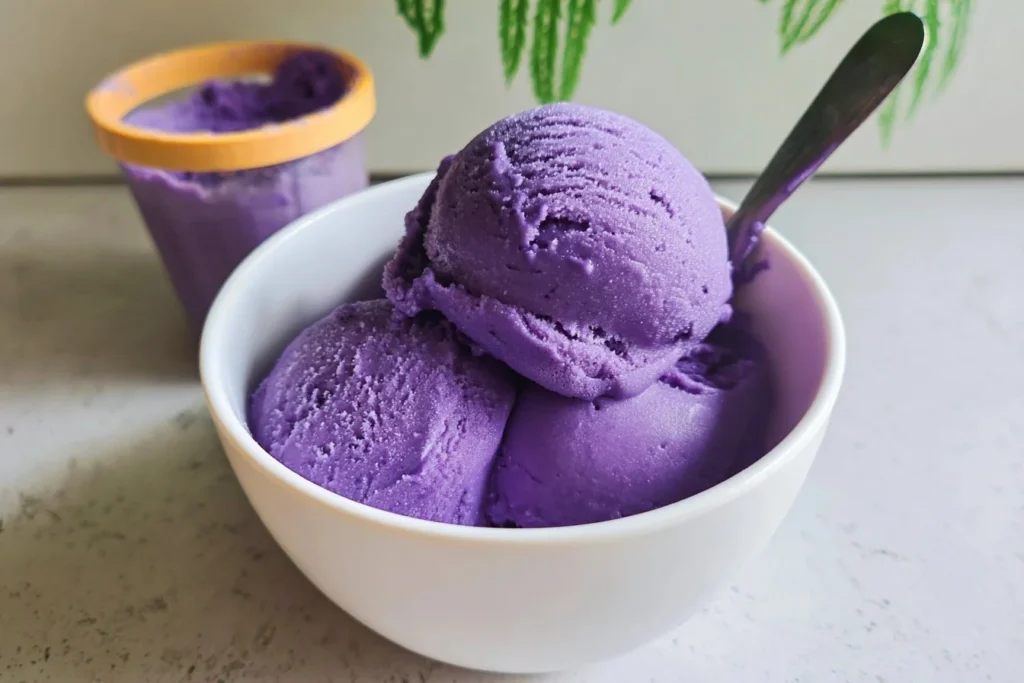
Nothing quite captures the joyful memories of summer like a scoop of homemade ice cream, don’t you think? I still remember the first time I tried ube ice cream. The vibrant purple hue caught my eye, but it was the rich, sweet flavor that stole my heart. It’s a little piece of my childhood, full of gatherings and laughter, often accompanied by my abuela’s stories as she whipped up her version in the kitchen. Today, I want to share a twist on that nostalgic favorite: the Ninja Creami Ube Ice Cream Recipe.
This post is designed to make this delicious treat simple, stress-free, and totally doable—even if it’s your first try. You’ll find it’s not just about the ingredients or the technique; it’s about creating those little moments of joy in our kitchens. So grab your Ninja Creami, and let’s dive into this creamy, dreamy goodness together!
Highlights
Why I Love This Recipe of Ninja Creami Ube Ice Cream Recipe
What makes this Ninja Creami Ube Ice Cream Recipe special to me is that it combines both tradition and modernity. The familiar taste of ube, so comforting and nostalgic, creates a beautiful contrast against the high-tech ease of the Ninja Creami. For many beginner cooks, this recipe allows you to engage with a beloved classic without requiring extensive kitchen skills. It’s not just practical; it’s also emotionally satisfying.
There’s something warm and cozy about making ice cream at home. I love to think of it as a bonding experience with family and friends. Whether laughing at mishaps or sharing the finished product together, this simple dessert becomes a catalyst for cherished moments. Plus, you can customize it to suit your taste! As we go through this recipe, remember: You can adjust things to make it uniquely yours.
Ingredients You’ll Need for Ninja Creami Ube Ice Cream Recipe
Before we get started, let’s take a closer look at the ingredients, which are key to making this delightful ube ice cream.
Essentials
2 cups Half and Half (or heavy cream): This is the base of your ice cream. If you want it richer, go with heavy cream, but half and half works beautifully for a lighter option.
½ cup Condensed Milk: This sweet addition creates a creamy texture and enhances the sweetness of the ice cream. You can adjust this based on your taste preference.
½ cup Cottage Cheese (or cream cheese): This may sound like a surprising ingredient, but it adds a wonderful creaminess that makes the ice cream luscious and irresistible. Want an even creamier texture? Cream cheese works wonders.
1 tablespoon Ube Powder: This is where that lovely purple color and distinct flavor come from. If you can’t find ube powder, no worries! You can substitute with ½ cup of ube jam or halaya, which adds even more sweetness and flavor.
1 teaspoon Ube Extract: This adds a concentrated dose of ube goodness. Feel free to add more if you really want that ube flavor to shine.
Optional Add-Ons
While the basic recipe is stunning on its own, you can elevate it with some optional add-ons:
- Shredded Coconut: Sprinkle some on top for texture and flavor.
- Chopped Nuts: Peanuts or almonds give a lovely crunch.
- Fresh Fruit: Slice some bananas or berries for a fresh contrast.
- Chocolate or Caramel Sauce: Drizzle it on top for an indulgent twist.
Substitutions and Shortcuts
If you’re looking for a dairy-free alternative, try using coconut milk instead of half and half. Just make sure you’re using coconut cream for richness.
For a lower-sugar version, consider using a sugar-free condensed milk option.
Shorten the waiting time by using store-bought ube ice cream if you’re really in a pinch, but I assure you, the fresh, homemade flavors can’t be beat.
How to Make Ninja Creami Ube Ice Cream Recipe Step-by-Step
Now that we’ve gathered our ingredients, let’s jump into the steps. Each part is simple, and I promise it’s worth it.
Step 1: Blend the Ingredients
In a sturdy blender, combine the half and half (or heavy cream), cottage cheese (or cream cheese), condensed milk, ube powder, and ube extract. Blend on high until you achieve a smooth and creamy mixture. Make sure there are no lumps from the cottage cheese.
Step 2: Pour into the Pint Container
Carefully pour the blended mixture into the Ninja Creami pint container. Be sure to leave some space at the top, ensuring it doesn’t exceed the max fill line; this is crucial for even freezing.
Step 3: Freeze the Mixture
Once filled, place the pint container in the freezer. It’s best to freeze for at least 18-24 hours. This step does require a bit of patience, but it’s essential for that perfect ice cream consistency.
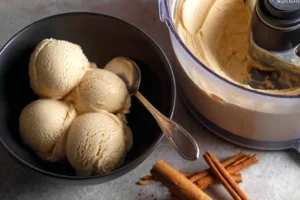
Step 4: Process in the Ninja Creami
After your mixture has frozen solid, remove the pint container from the freezer. Place it into the Ninja Creami ice cream machine, making sure everything is tightly locked in place. Select the “Lite Ice Cream” setting, and let the machine work its magic.
Step 5: Serve and Enjoy
Once it’s finished processing, scoop the ube ice cream into bowls. You can top it with your favorite toppings, or enjoy it as is. Either way, you’re in for a treat!
Common Mistakes to Avoid in Ninja Creami Ube Ice Cream Recipe
Even though this recipe is straightforward, we can all benefit from a little guidance along the way. Here are some common pitfalls to avoid:
Not Freezing Long Enough
Make sure to freeze your mixture for the entire 18-24 hours. If you under-freeze, your ice cream may be too soft and won’t scoop nicely once processed.
Overfilling the Pint Container
I can’t stress this enough: don’t exceed the max fill line! The mixture needs room to expand as it freezes. Overfilling can lead to messy results and uneven freezing.
Skipping the Blender Step
Some might think they can simply mix the ingredients by hand, but using a blender is essential to achieve a smooth and creamy texture. Lumps can ruin the delightful experience of your homemade ice cream.
Not Letting the Creami Process Long Enough
Each Ninja Creami setting has its purpose. Ensure you let it fully complete its cycle; stopping it prematurely can result in icy chunks instead of a smooth ice cream.
Serving Suggestions for Ninja Creami Ube Ice Cream Recipe
Now that you have your magnificent ube ice cream, here are some delightful serving suggestions:
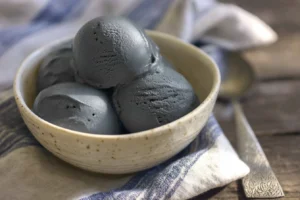
Coconut and Almond Ube Sundae
Top your ube ice cream with shredded coconut and chopped almonds for a tropical touch. The textures and flavors in combination create a delightful treat that transports you straight to paradise.
Ube Ice Cream with Fresh Fruit
Pair your ice cream with slices of fresh bananas, strawberries, or mango. The freshness of the fruit complements the rich ice cream beautifully, keeping it balanced.
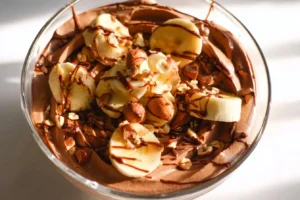
Chocolate Drizzle Delight
If you’re craving something indulgent, drizzle chocolate sauce over your ube ice cream. It adds a heavenly touch, creating a flavor explosion that’s hard to resist.
Ube Shakes or Parfaits
Layer your ube ice cream in a glass with crushed cookies for a delicious parfait. Alternatively, blend it with some milk for an indulgent ube shake—now that’s a drink to impress!
Print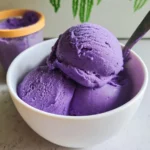
Ninja Creami Ube Ice Cream
- Total Time: 1440 minutes
- Yield: 4 servings 1x
- Diet: Vegetarian
Description
A delightful and creamy twist on traditional ube ice cream made with the Ninja Creami, perfect for creating nostalgic moments with loved ones.
Ingredients
- 2 cups Half and Half (or heavy cream)
- ½ cup Condensed Milk
- ½ cup Cottage Cheese (or cream cheese)
- 1 tablespoon Ube Powder
- 1 teaspoon Ube Extract
- Optional: Shredded Coconut, Chopped Nuts, Fresh Fruit, Chocolate or Caramel Sauce
Instructions
- Blend the ingredients until smooth and creamy.
- Pour the mixture into the Ninja Creami pint container, leaving space at the top.
- Freeze the mixture for 18-24 hours.
- Process in the Ninja Creami using the ‘Lite Ice Cream’ setting.
- Scoop into bowls and add toppings as desired before serving.
Notes
For dairy-free, substitute half and half with coconut milk. For a lower-sugar version, consider using sugar-free condensed milk.
- Prep Time: 15 minutes
- Cook Time: 0 minutes
- Category: Dessert
- Method: Freezing
- Cuisine: Filipino
Nutrition
- Serving Size: 1 serving
- Calories: 280
- Sugar: 25g
- Sodium: 100mg
- Fat: 15g
- Saturated Fat: 9g
- Unsaturated Fat: 5g
- Trans Fat: 0g
- Carbohydrates: 32g
- Fiber: 1g
- Protein: 4g
- Cholesterol: 50mg
Keywords: ube ice cream, homemade ice cream, Ninja Creami recipe, Filipino dessert
Pro-Level Tips for When You’re Ready
Once you have a handle on this Ninja Creami Ube Ice Cream Recipe, consider these pro-level tips to elevate your ice cream game:
Experiment with Flavors
Once you’re comfortable with the base recipe, try playing around with different flavors of extract. Almond, vanilla, or even coffee could create some exciting twists.
Make a Ube Float
For a refreshing summer treat, pour some soda or sparkling water over a scoop of ube ice cream for an elevated float. It’s a fun spin on a classic!
Add Layered Textures
While processing in the Creami, consider folding in some crushed cookies or nuts before serving to create textures. It makes for a delightful surprise with every scoop.
Create Fun Ice Cream Sandwiches
Use your ube ice cream to create ice cream sandwiches! Sandwich it between two cookies or brownies for the ultimate indulgent treat.
Conclusion
As we wrap up this journey into making Ninja Creami Ube Ice Cream, I hope you see just how easy and fun it is to create this treat at home. With a few simple ingredients and some straightforward steps, you can whip up a batch that feels cozy and classic. The beauty of this recipe lies in its versatility—you can customize it however you like!
So, gather your ingredients, fire up the Ninja Creami, and dive into a delightful adventure in homemade ice cream. And remember, it’s always a good idea to have a bowl ready for yourself afterward—you’ve earned it!
FAQs About Ninja Creami Ube Ice Cream Recipe
1. Can I use fresh ube instead of ube powder?
Yes! You can peel and cook fresh ube and then blend it into your ice cream mixture. Just ensure it’s fully cooked and soft for smooth blending.
2. How can I make this recipe dairy-free?
You can substitute the half and half with coconut milk or a non-dairy cream. Make sure your cottage cheese is also dairy-free or try a dairy-free cream cheese alternative.
3. Is ube ice cream gluten-free?
Yes, the Ninja Creami Ube Ice Cream Recipe is naturally gluten-free as none of the ingredients contain gluten. Just verify your brands to be sure.
4. Can I use sweetened condensed milk?
Absolutely! The recipe is quite forgiving. You can adjust the amount of condensed milk based on how sweet you want your ice cream to be.
5. How long will this ice cream last in the freezer?
Homemade ice cream is best enjoyed within two weeks for optimal flavor and texture. Just make sure to store it in an airtight container to prevent freezer burn.
I can’t wait to hear about your ube ice cream adventures! Happy ice cream making!