Have you ever woken up craving the warm, bitter jolt of coffee and, a few hours later, settled in with a bowl of cold, creamy ice cream that tastes like your favorite morning ritual? I have—many times—usually with a kitchen counter full of mugs, a laugh at myself for mixing breakfast and dessert, and a happy spoon. If you’re a beginner, the idea of making homemade ice cream can feel a little intimidating: will it freeze properly, will the texture be right, will the chocolate chips clump into one giant rock? I promise this Coffee Chocolate Chip Ice Cream is forgiving. It’s straightforward, uses pantry-friendly ingredients, and will make you feel like a small-time ice cream chef without any stressed-out fuss. If you’d rather skip the machine entirely, I like to peek at recipes like a no-machine vanilla chocolate chip ice cream for ideas—though the churned version below is my cozy go-to.
A Quick Look at This Coffee Chocolate Chip Ice Cream Recipe
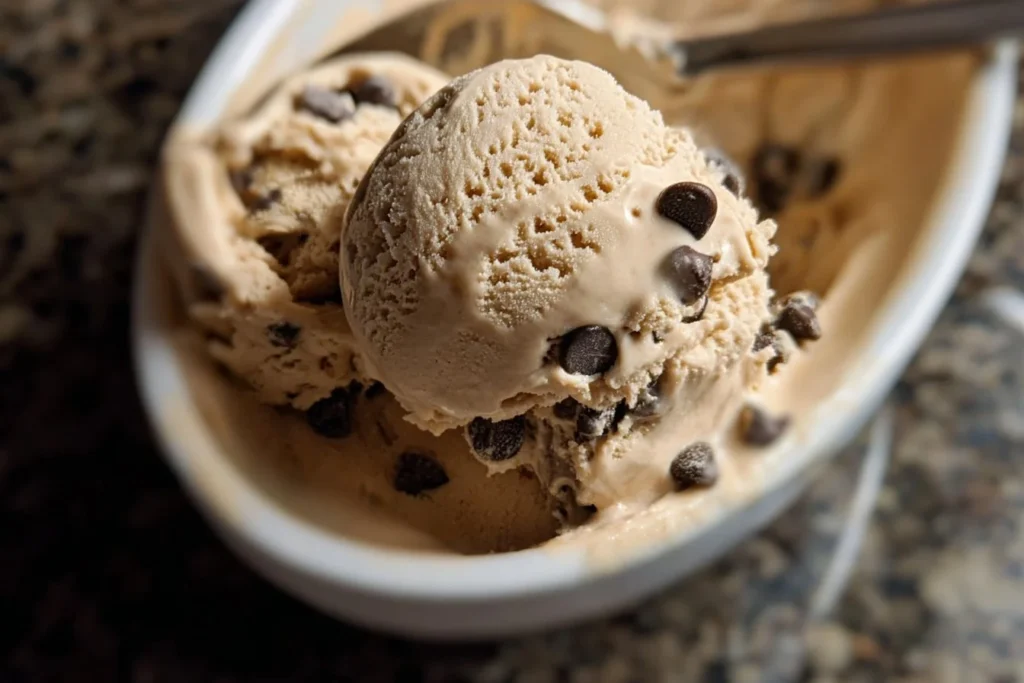
This Coffee Chocolate Chip Ice Cream is built on two main ingredients: rich heavy cream and strong brewed coffee, which together make everything velvety and full of flavor. The chocolate chips are a simple, satisfying contrast in texture and sweetness. It’s a comfort food winner that’s quick to pull together and stores well in the freezer for easy treats later. Perfect for home cooks and beginners, the recipe doesn’t rely on fancy techniques—just a whisk, an ice cream maker, and a little patience while it chills. Keep scrolling to learn how a few simple tips will make your homemade ice cream taste like a cozy café at home.
Ingredients You’ll Need for Coffee Chocolate Chip Ice Cream
Essentials
- 2 cups heavy cream — This is what gives the ice cream that luxurious, creamy mouthfeel. Don’t skip it unless you’re making a lighter variation.
- 1 cup whole milk — Balances the cream and keeps the base scoopable straight from the freezer.
- 3/4 cup granulated sugar — Sweetens the base without overpowering the coffee’s bitterness.
- 1 cup strong brewed coffee, cooled — Use good-quality coffee; it’s the star flavor here. Cold-brew or very-strong drip coffee both work.
- 1 teaspoon vanilla extract — Adds warmth and rounds out the coffee notes.
- 1 cup chocolate chips — Semi-sweet chips are classic, but feel free to choose your favorite; they provide nice texture contrast.
Optional add-ons
- A tablespoon of instant espresso powder — For an extra coffee kick without changing liquid ratios.
- A pinch of flaky sea salt — Just a touch can make the chocolate pop and balance the sweetness.
- 1/2 to 1 cup chopped toasted nuts (almonds, hazelnuts) — For crunch if you like a nutty finish.
- 1/3 cup chocolate chunks or chopped chocolate — Larger shards for a more dramatic texture.
- Swirls: add 1/3 cup sweetened condensed milk or chocolate sauce at the end of churning to swirl through.
Substitutions and shortcuts
- Dairy swap: For a lower-fat version, use 1 cup half-and-half + 1 cup whole milk, but expect a slightly less creamy texture. If you need dairy-free, full-fat canned coconut milk (2 cans = about 2 cups) plus 1 cup almond or oat milk can work, though the flavor will shift.
- Sugar alternatives: 2/3 cup maple syrup or honey can be used instead of granulated sugar; reduce other liquids slightly and note the flavor change.
- Coffee shortcut: If you don’t have brewed coffee ready, dissolve 1–2 teaspoons instant espresso in 1 cup of cold water for a nearly identical flavor punch.
- Chocolate swap: Use chips, chunks, or chopped bars—dark, semi-sweet, or milk chocolate all work. If you want a more adult, bitter edge, choose 60–70% dark chocolate.
- No-ice-cream-maker option: If you don’t own a machine, you can adapt this into a no-churn version—see the introduction link for one of my favorite no-machine ideas.
How to Make Coffee Chocolate Chip Ice Cream Step-by-Step
I like to tackle this in easy, relaxed stages. Here’s how I make it at home, step by step, with tips for beginners.
Prepare the coffee
- Brew 1 cup of very strong coffee. If you prefer a bolder coffee flavor, use espresso or cold brew concentrate diluted to taste. Let it cool completely to room temperature before using—hot liquids will interfere with the texture of the ice cream base.
Combine the dairy and sugar
- In a large mixing bowl, pour in 2 cups heavy cream and 1 cup whole milk. Add 3/4 cup granulated sugar. Use a whisk to dissolve the sugar in the liquids. This only takes a couple of minutes; you don’t need to overwork the cream—just ensure there are no sugar grains left.
Add the coffee and vanilla
- Stir in the cooled brewed coffee and 1 teaspoon vanilla extract. Taste the base; if the coffee flavor feels shy, add a tiny pinch of instant espresso to intensify it without adding more liquid.
Chill the mixture (optional but recommended)
- For the best texture, cover the bowl and refrigerate the mixture for 1–2 hours. Cold base churns better and produces a smoother, denser ice cream. If you’re short on time, you can churn immediately, but chilling does improve the final result.
Prep your ice cream maker
- If your ice cream maker requires a frozen bowl, make sure it’s been in the freezer for the recommended time (usually at least 24 hours). Set the machine up according to the manufacturer’s instructions.
Churn the base
- Pour the chilled base into your ice cream maker and churn. Most machines take 20–30 minutes to reach a soft-serve consistency. Watch for the volume to increase and the mixture to thicken.
Add the chocolate chips
- In the last 3–5 minutes of churning, sprinkle in 1 cup chocolate chips so they distribute evenly. If you prefer chocolate swirls rather than chips, add a ribbon of chocolate sauce or sweetened condensed milk now for a marbled effect. (If you want to experiment with different flavor combinations, I sometimes look at recipes like a caramel white chocolate mocha idea for inspiration.)
Pack and freeze
- Transfer the churned ice cream into an airtight, freezer-safe container. Smooth the top with a spatula and press a piece of parchment paper directly onto the surface to reduce ice crystals if you have it. Freeze for at least 4 hours to firm up; overnight is even better for scoopable texture.
Serve
- Remove from the freezer about 5–10 minutes before scooping so it softens slightly. Use a warmed ice cream scoop (run under hot water and dry) for clean, perfect scoops.
Storage notes
- Stored properly in an airtight container, this ice cream will keep for up to 2 weeks with excellent flavor. Beyond that, the texture can decline and the coffee flavor may fade.
A few extra tips from my kitchen:
- If your ice cream is icy instead of creamy, it usually means it wasn’t churned enough or the base wasn’t cold enough before churning. Chill the base longer next time and be patient with the machine.
- To keep chips from sinking to the bottom while freezing, make sure they’re folded in during churning at a point when the base is already thickening.
Common Mistakes to Avoid
Making homemade ice cream is forgiving, but there are a few pitfalls I’ve learned to watch for. Fixing them ahead of time will save you a lot of disappointment—and a lot of wasted ice cream.
Mistake 1: Churning a warm base
If you pour a warm or room-temperature mixture into the ice cream maker, it will take much longer to thicken and can freeze with large ice crystals, resulting in a grainy texture. Always chill your base in the refrigerator for at least an hour before churning. I keep a note on my recipe card: cold base = smooth ice cream.
Mistake 2: Using weak coffee
The coffee is the star here. If your brew is too weak, the ice cream will taste faint and flat. Use a strong brewed coffee, espresso, or concentrated cold brew. If you don’t want to brew more coffee, a little instant espresso dissolved in the cold liquid does the trick without watering down the base.
Mistake 3: Adding mix-ins too early or too late
Adding the chocolate chips too early in the churn can make them sink or break down. Add them during the last few minutes of churning so they spread evenly through the soft ice cream. If you add them after freezing, they’ll clump and won’t distribute as nicely.
Serving Suggestions for Coffee Chocolate Chip Ice Cream
This ice cream is a wonderful standalone treat, but I love small, cozy ways to serve it that turn it into an experience.
- A classic scoop
- Serve a generous scoop in a chilled bowl with a light dusting of cocoa powder or a few extra chocolate chips on top. Add a shortbread cookie on the side for dunking.
Coffee float or affogato-style (non-alcoholic)
Top a scoop with a splash of cooled but strong coffee or espresso for a quick affogato-style finish—think cold and creamy with a caffeinated kiss. This is a great way to highlight the coffee flavor without changing the dessert.
Sundae with brownies or biscotti
Create a small sundae by adding warm brownie chunks, a drizzle of warm chocolate sauce, and a sprinkle of flaky sea salt. If you want extra crunch, serve with biscotti on the side—there’s something homely and satisfying about dunking a crisp cookie into the creamy scoop. For cookie inspiration, I sometimes pair the scoop with a rich, Oreo-style cookie dessert like I used in other favorite recipes.
Ice cream sandwich
Make simple sandwiches by pressing scoops between two soft chocolate cookies or chewy espresso cookies. This is perfect for lunchbox-friendly treats or a laid-back weekend dessert.

Conclusion
I hope this cozy Coffee Chocolate Chip Ice Cream becomes one of those kitchen wins you tell friends about—a simple recipe that makes you feel like the best kind of home cook: confident, relaxed, and generous. If you want to see another take on a chocolate-chip coffee-flavored treat, I often read through Chocolate Chip Coffee Ice Cream – Simply Scratch for inspiration and technique notes, and I also enjoy the depth of flavor in Espresso Chocolate Chip Ice Cream | Table for Two® by Julie Chiou when I’m experimenting with espresso-forward variations. Try the recipe as written first, then tweak the coffee strength, chocolate type, or add-ins to make it yours. If you make a batch, I’d love to hear which twist you tried—drop a note or a photo and share your cozy scoop.
FAQs About Coffee Chocolate Chip Ice Cream
Q1: How long does Coffee Chocolate Chip Ice Cream last in the freezer?
A1: Properly stored in an airtight container, Coffee Chocolate Chip Ice Cream keeps well for up to two weeks with great flavor. After that, it can still be eaten, but the texture and coffee brightness may decline.
Q2: Can I make Coffee Chocolate Chip Ice Cream without an ice cream maker?
A2: Yes—though the texture will be a bit different. For a no-churn approach, whip cold heavy cream to stiff peaks, fold in sweetened condensed milk and cooled strong coffee, then fold in chocolate chips and freeze in a loaf pan. It’s a denser, creamier style but still delicious.
Q3: Can I use instant coffee for Coffee Chocolate Chip Ice Cream?
A3: Absolutely. Dissolve 1–2 teaspoons of instant espresso powder into the milk before combining with the cream and sugar for a strong coffee flavor without brewing a separate cup.
Q4: Is there a dairy-free version of Coffee Chocolate Chip Ice Cream?
A4: You can make a dairy-free version using full-fat canned coconut milk (about 2 cups) plus 1 cup of almond or oat milk for body. The flavor will be coconut-forward, so choose chocolate chips that pair well with coconut, and consider reducing added sugar slightly to taste.
Q5: How do I keep the chocolate chips from getting too hard in Coffee Chocolate Chip Ice Cream?
A5: To avoid rock-hard chips, use smaller chocolate chips or mix in chopped chocolate that has a slightly lower cocoa percentage (milk or semi-sweet). You can also fold them in when the ice cream has a slightly softer consistency so they don’t freeze into one solid piece.

Coffee Chocolate Chip Ice Cream
- Total Time: 45 minutes
- Yield: 4 servings 1x
- Diet: Vegetarian
Description
A delicious homemade ice cream combining the rich flavors of coffee with smooth chocolate chips.
Ingredients
- 2 cups heavy cream
- 1 cup whole milk
- 3/4 cup granulated sugar
- 1 cup strong brewed coffee, cooled
- 1 teaspoon vanilla extract
- 1 cup chocolate chips
- Optional: 1 tablespoon instant espresso powder
- Optional: A pinch of flaky sea salt
- Optional: 1/2 to 1 cup chopped toasted nuts
- Optional: 1/3 cup chocolate chunks or chopped chocolate
Instructions
- Brew 1 cup of very strong coffee and let it cool completely.
- Pour 2 cups heavy cream and 1 cup whole milk into a large mixing bowl. Add 3/4 cup granulated sugar and whisk until dissolved.
- Stir in the cooled brewed coffee and 1 teaspoon vanilla extract.
- Chill the mixture in the refrigerator for 1–2 hours for the best texture.
- Prepare your ice cream maker according to its instructions.
- Pour the chilled mixture into the ice cream maker and churn for 20–30 minutes.
- Add the chocolate chips in the last 3–5 minutes of churning.
- Transfer the churned ice cream into an airtight container and freeze for at least 4 hours.
- Remove from the freezer about 5–10 minutes before serving.
Notes
For the best texture, ensure the ice cream base is well chilled before churning. Store in an airtight container for up to 2 weeks.
- Prep Time: 15 minutes
- Cook Time: 30 minutes
- Category: Dessert
- Method: Churning
- Cuisine: American
Nutrition
- Serving Size: 1 serving
- Calories: 350
- Sugar: 28g
- Sodium: 60mg
- Fat: 27g
- Saturated Fat: 17g
- Unsaturated Fat: 8g
- Trans Fat: 0g
- Carbohydrates: 31g
- Fiber: 0g
- Protein: 5g
- Cholesterol: 80mg
Keywords: coffee ice cream, chocolate chip, homemade dessert, summer treat